|
|

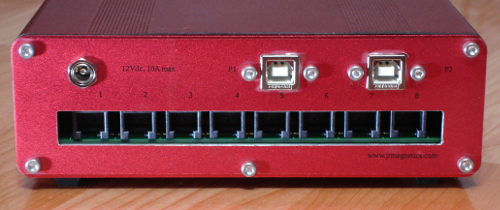
RS485 8-Port Network Configurable Hub |
||||||||||||
| These instructions are for Microsoft Windows 7. It is assumed that some terminal program such as Hyperterm, Hercules or Putty are already installed. A driver for USB Port 1 must be installed or the following instructions will not discover that port.
Other Windows versions are not supported.
The MCP2200/MCP2221 Windows Driver & Installer can be obtained from http://www.microchip.com/wwwproducts/en/en546923. Before inserting the power plug into the JRNET100 hub power jack:
All of the JRNET hub panel lights should be active and RED. To connect the PC terminal program to USB P1:
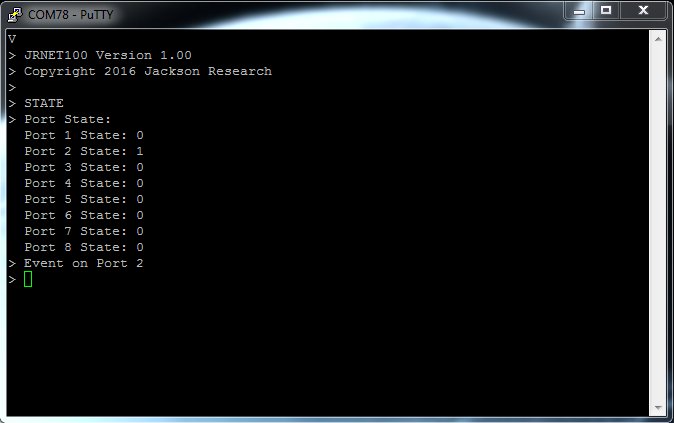
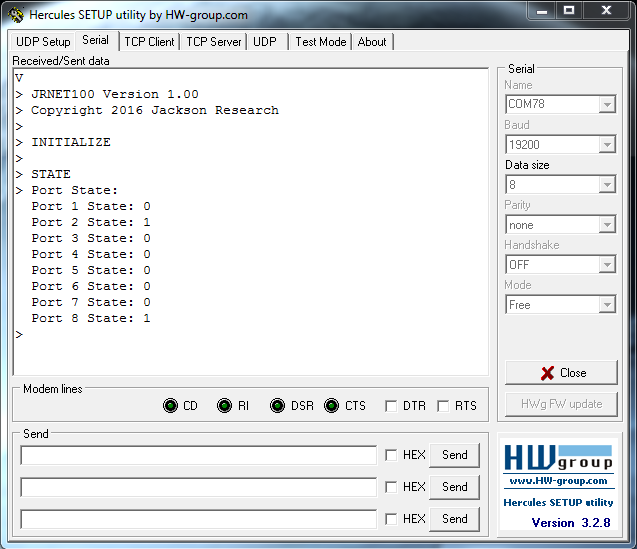
The INITIALIZE command must be issued to establish the initial network configuration. All future events are compared to this initial configuration. Any of the network jacks can be “HOT SWAPPED”. However, each time that is done, the INITIALIZE command must be issued to establish the new configuration. If this is not done, one event can cause false positive alarms on other ports. For instance, if a previously installed sensor on Port 1 is unplugged and the INITIALIZE command is NOT issued, anytime an event occurs on any other port, the messages in the terminal may indicate that an event has also happened on Port 1. The same thing can occur if a new device or network is plugged into a jack without issuing the INITIALIZE command.
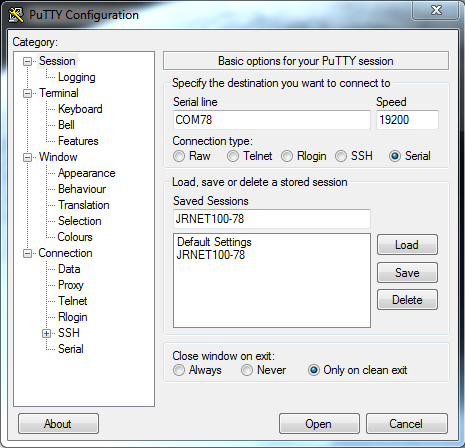
Putty terminal after clicking on "Open".
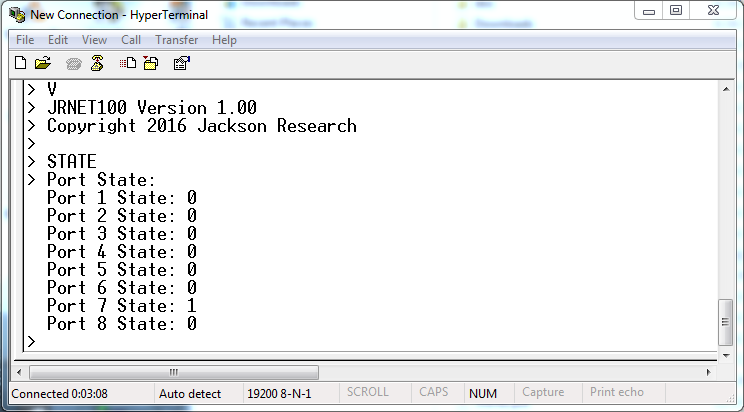
Hyperterm was not included after Windows XP. Instructions on how to copy it from XP to Windows 7 and set it up are included in the following: hyperterm.zip
A free closed source terminal program, Hercules, can be downloaded here:
Unplugging the power cable to the hub and plugging it back in may be necessary at times to get proper operation. The following commands are available:
|
|