|
|

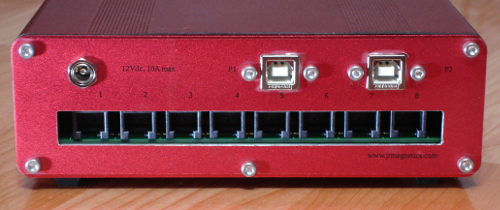
RS485 8-Port Network Configurable Hub |
||||||||||||||
| These instructions were tested on Fedora 19 and openSUSE 13.1. It is assumed that some terminal program such as CuteCom, minicom or Putty are already installed. Drivers for serial COM ports are usually included as part of the basic installation.
Before inserting the power plug into the JRNET100 hub power jack:
All of the JRNET hub panel lights should be active, depending upon what has been installed. If nothing has been installed, then all the panel lights should be RED. If any devices or networks have been installed, wait until all of the panel lights stop blinking before proceeding. This should take less than one minute.
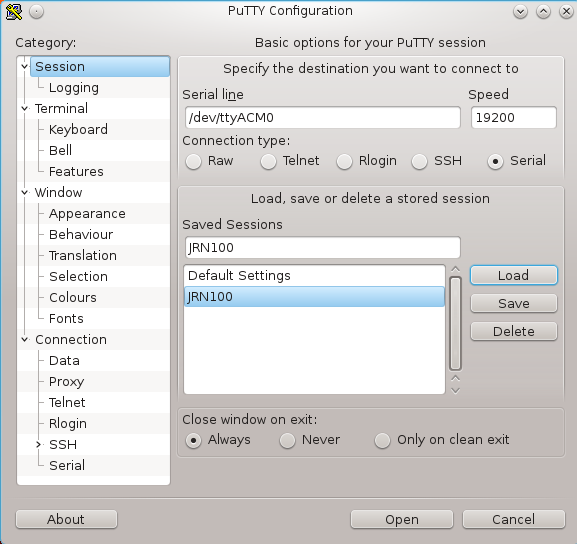
To monitor the hub activity on USB P1, start PuTTY from the program menu list. If it is not in the list, it can be installed on Fedora with the following on the command line in a terminal window: sudo yum install putty or on openSUSE sudo apt-get install putty. This also works for "cutecom". Now, start a PuTTY session from the program menu.
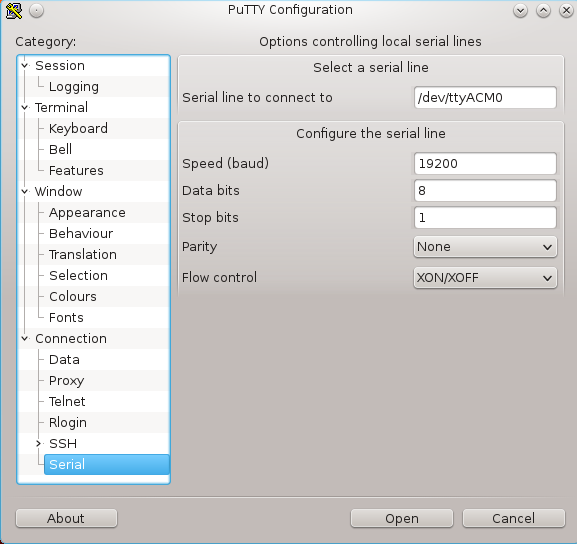
The serial line designation will probably need to be typed into the Serial Line box. Type the Speed as 19200 baud. The configuration can be saved. The serial terminal can now be started by clikcing the "Open" button. Or, select "Serial" from the Category list and fill in the blanks as shown in Figure 2, whichever works best. Opening serial COM ports through USB can get fussy.
Now, click the "Open" button.
The INITIALIZE command must be issued to establish the initial network configuration. All future events are compared to this initial configuration. Any of the network jacks can be “HOT SWAPPED”. However, each time that is done, the INITIALIZE command must be issued to establish the new configuration. If this is not done, one event can cause false positive alarms on other ports. For instance, if a previously installed sensor on Port 1 is unplugged and the INITIALIZE command is NOT issued, anytime an event occurs on any other port, the messages in the terminal may indicate that an event has also happened on Port 1. The same thing can occur if a new device or network is plugged into a jack without issuing the INITIALIZE command. The following commands are available:
If an error occurs, retype the command.
|

|