Home
Electronic Security
RF
Virtual Reality
3D Printing
Motion Control
High Performane Computing
Magnetic Bearings
Magnetic Apparatus
Jackson Model
Technology
Contact
Distributors
About
 
Jackson Research
 
RF Ultra WideBand Antenna
JRAN900 Assembly

Parts List :

  1. JRAN900 Antenna Radome
  2. JRAN900 Internal Antenna Mount
  3. JRAN900-A
  4. JRAN900-B
  5. Stainless Steel Ground Plane
  6. Brass Washers
  7. SMA Connector
  8. ConductiveX-03 Electrically Conductive Nickel Epoxy
  9. Solder Paste
  10. 22 AWG copper wire
  11. 4 mm hex head fastners (qt = 8)

Items 1 thru 4 can be obtained at the online store here:
Shapeways

RF Broadband Noise Generator JRNS6000


JRAN900 Radome JRAN900 Mount
JRAN900 Antenna Radome (Item 1) JRAN900 Internal Antenna Mount (Item 2)
JRAN900-A JRAN900-B
JRAN900-A (Item 3) JRAN-B (Item 4)
Apply solder paste (Item 8) to JRAN-B (Item 4) and press it together with JRAN900-A (Item 3).
Then, heat the assembly to 350°C in an oven until the solder flows. Allow to cool naturally.
Or, The two halves can be bonded together with ConductiveX-03 Electrically Conductive Nickel Epoxy
JRAN900 Parts


Electrically Conductive Epoxy

Electrically Conductive Nickel Epoxy

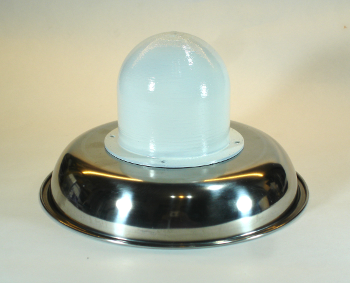
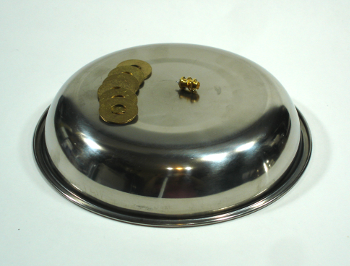
(Item 5) The ground plane is a stainless steel dish turned upside down. It is roughly 195 mm across.
Ground Plane Hole Pattern Template:
jran900-hole-template.pdf

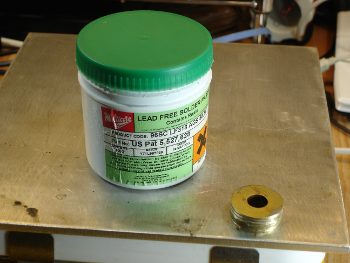
(Item 6) The brass washers have an OD = 26 mm and an ID = 10 mm.
It takes about six of them to form the ground extension up to the level of the antenna cone connection.

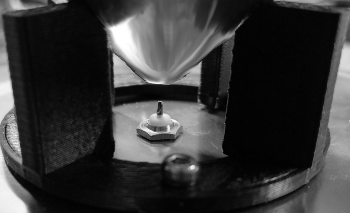
(Item 7) The SMA connector is: Amphenol P/N: 132139

(Item 8) Electrically Conductive Nickel Epoxy is used to attach the stacked brass washers to the stainless steel ground plane.
It can also be used to bond the antenna top (JRAN9800-A) to the bottom (JRAN900-B) instead of soldering.

Soldering Brass Washers

attach connector antenna

Attaching the SMA connector to the antenna.

The brass washers were layered with solder paste, like a cake, and heated on a hot plate until the solder flowed forming a single mass.
Electrically conductive nickel epoxy could just as well have been used.

  1. Drilled all of the holes into the ground plane plate as defined in the drawing.
  2. Make sure the antenna mount fits with the four 3 mm hex head fasteners in place.
  3. Insert the SMA connector and either solder the connector to the brass antenna assembly with a small piece of 22 AWG copper wire
    or, fasten it with electrically conductive adhesive.
  4. Remove the nut from the SMA connector and lift off the entire connector antenna assembly together.
  5. The brass washer ground plane extension made earlier can now be bonded into position with electrically conductive nickel epoxy.
    Replace the SMA connector antenna assembly and tighten the connector nut before the eposy on the brass washers sets.
   
Attaching the radome with four 4 mm hex head fasteners completes the assembly.
 

https://www.youtube.com/results?search_query=jrmagneticshttps://www.linkedin.com/in/john-jackson-jrmagnetics

CE